SAP MM TUTORIALS-
Creating a Vendor Master in SAP: A Step-by-Step Guide-
Introduction-
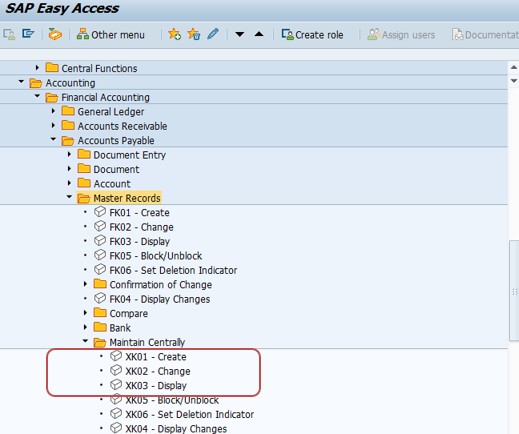
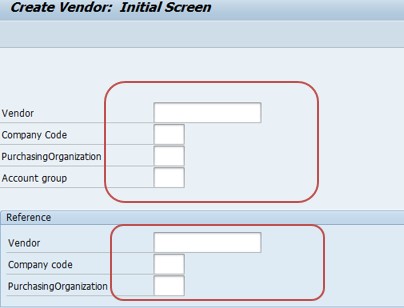
Managing vendor data efficiently is crucial for any organization's procurement and supply chain operations. SAP ERP provides the XK01 transaction code to create and maintain vendor master records. This blog post will guide you through the various views available in the SAP XK01 Vendor Master and their significance in streamlining vendor-related processes.
✅ 1.General Data View-
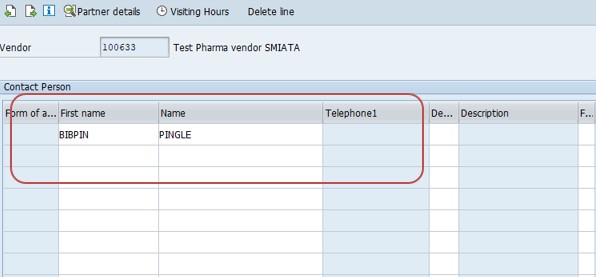
The General Data view contains essential information about the vendor, such as name, address, communication details, and currency information.This is where you enter basic data like vendor's name, address, and contact details. It also includes fields for language and accounting clerk assignments.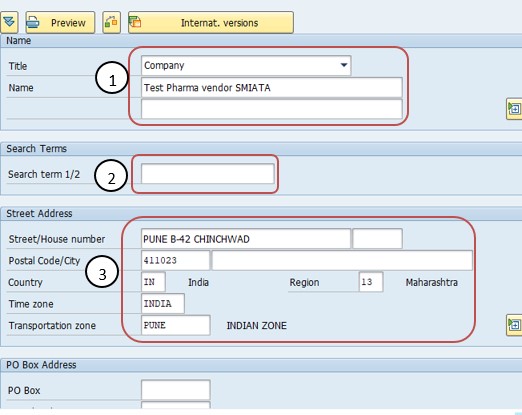
✅ 2.Company Code Data View-
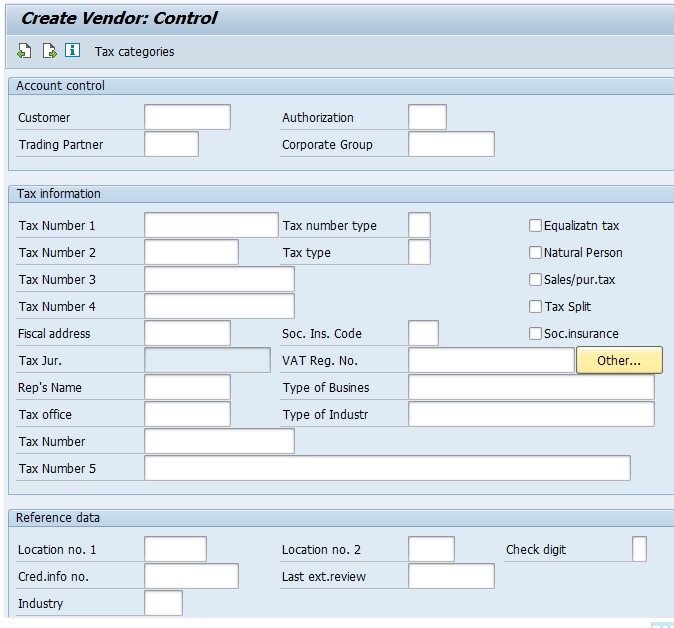
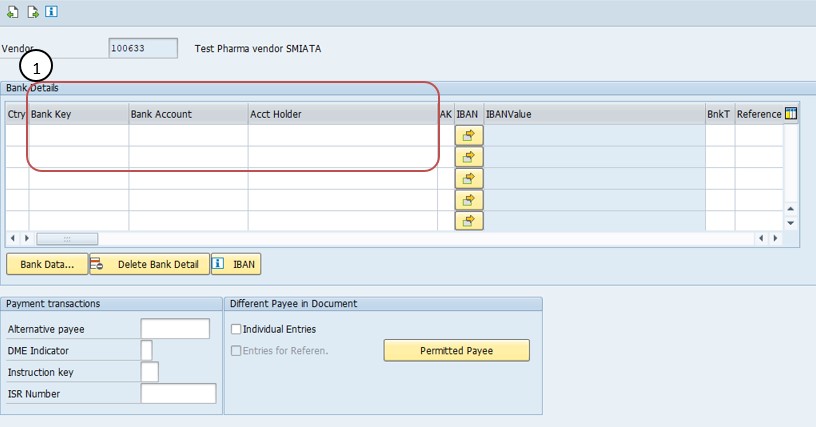
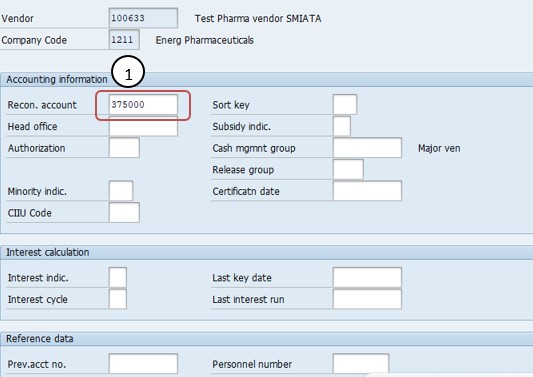
In this view, you define vendor-specific data for each company code within your organization. It includes payment terms, payment methods, reconciliation accounts,and more.This view is essential for maintaining accurate accounting and payment processes tailored to different company codes..Bank Detailes-
✅ Reconciliation Accounts-
✅ 3.Purchasing Data View-
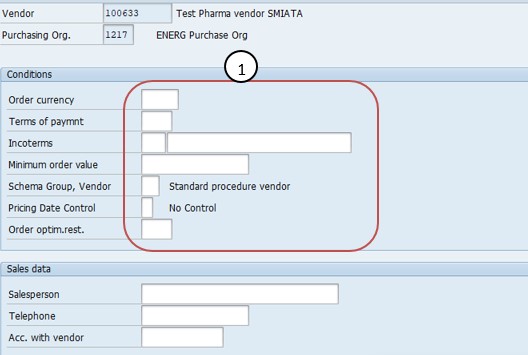
The Purchasing Data view focuses on procurement-related details. Here, you can set up information like order currency, order unit, delivery tolerances, and terms of payment specific to purchasing transactions. This view plays a vital role in streamlining the procurement process and ensuring smooth order placement.
✅ 4.Accounting Data View-
The Accounting Data view is crucial for managing financial aspects of vendor transactions. It involves configuring payment terms, terms of payment, cash discounts, and reconciliation accounts. This information is necessary for accurate financial reporting and tracking vendor-related expenses.
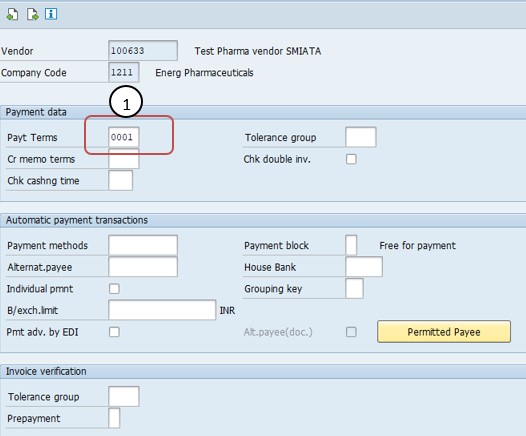
✅ 5.Payment Transactions View-
This view deals with payment-specific details, such as bank information, payment methods, and payment terms.Configuring this view correctly ensures that payments are processed accurately and efficiently, reducing the risk of errors and delays.
✅ 6.Correspondence View-
In this view, you can define communication methods for sending correspondence to the vendor. This can include settings for sending purchase orders, payment advice, and other relevant documents electronically or via traditional mail.
✅ 7.Partner Functions View-
The Partner Functions view allows you to assign specific roles to vendors, such as ordering address, goods receipt address,and invoice receipt address. This helps in routing different types of communication and goods to the appropriate locations within the vendor's organization.
✅ 8.Classification View-
The Classification view lets you assign additional attributes or characteristics to vendors, which can aid in categorizing and sorting vendors based on specific criteria. This can be useful for reporting and analysis purposes.
-Movement type 161 is not allowed